Create a Mailchimp Audience
Create your Mailchimp audience so you can import and collect new contacts for your emails.

Get the job done with a pro
From training to full-service marketing, our community of partners can help you make things happen.
![]()
QuickBooks makes managing your finances easy and integrates with Mailchimp, allowing you to use your paid invoices to create smarter, more personalized marketing campaigns.
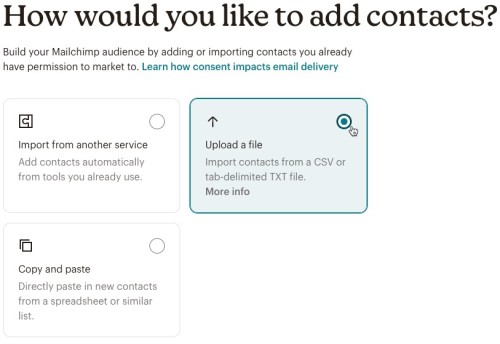
Our import tool helps you add or update email contacts in Mailchimp. Import from a connected app, upload a comma-separated value file (CSV), copy and paste email contacts from a spreadsheet like Microsoft Excel or Google Sheets, or enter info directly into the import table. You can also auto-update multiple existing email contacts at once.
In this article, you'll learn how to use our import tool to add and update email contacts in Mailchimp.
Here are some things to know before you begin this process.
To save time and effort, Mailchimp lets you connect 6 of the most commonly used integrations and will import email contacts for you. Here’s the list of currently supported apps:
To connect another app and import email contacts to Mailchimp, follow these steps.

That’s it! You’ve now connected your app and Mailchimp will import email contacts.
The file import process has 2 parts. First, prepare your spreadsheet of email contacts outside Mailchimp, then save it as a CSV or TXT file. Next, use our import tool to upload your file and add your email contacts to your Mailchimp audience. If you import subscribed email contacts, be sure that you have permission to send them email marketing content.
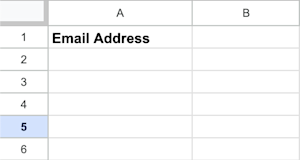
To prepare your file for import, follow these steps.


Nice job! Now that you've prepared your import file, you're ready to import.
Note
Need help saving your spreadsheet file before you import? Check out these CSV tips from Microsoft Excel and Google Sheets. Or, download our sample CSV import file and replace the sample emails with your own data.
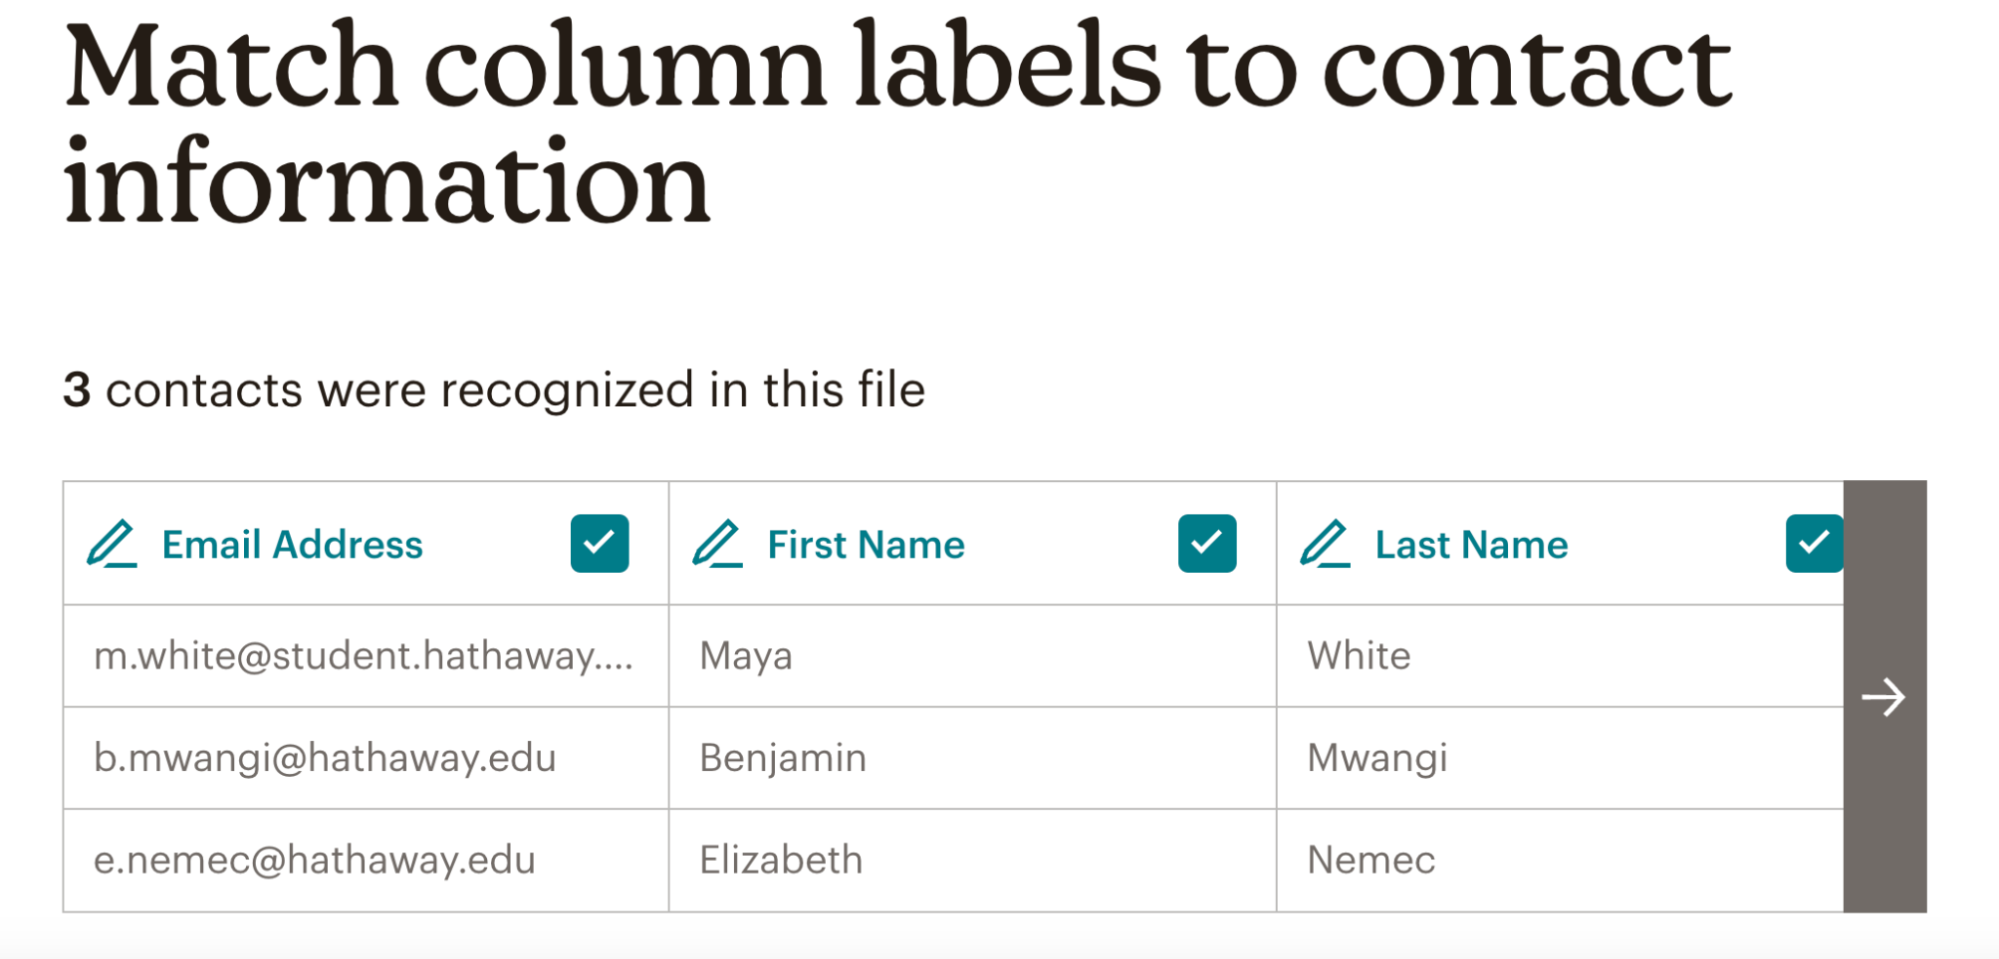
To import your email contacts to Mailchimp, follow these steps.

Use the Select email marketing status and Select SMS marketing status drop-downs to choose the marketing subscription statuses of the email contacts you're about to import. If you only have email consent from your email contacts, choose Subscribed from the Select email marketing status drop-down, then choose Non-subscribed from the Select SMS marketing status drop-down.
The available subscription statuses for email contacts are:
Click Finalize import to review your import settings. To go back to a step, click the corresponding header. If you want to cancel your import, click Exit.
That's it! After the import is finished, we'll send a notification to the email address associated with your Mailchimp account.
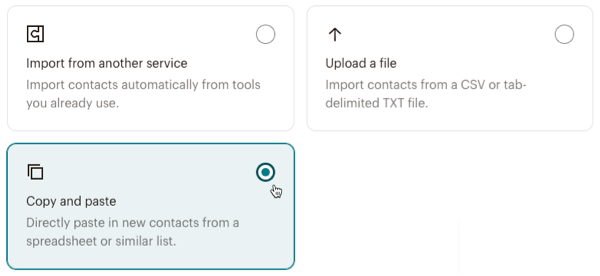
Directly paste new email contacts from a spreadsheet or list.
To copy and paste your email contacts, follow these steps.
Use the Select email marketing status and Select SMS marketing status drop-downs to choose the marketing subscription statuses of the email contacts you're about to import. If you only have email consent from your email contacts, choose Subscribed from the Select email marketing status drop-down, then choose Non-subscribed from the Select SMS marketing status drop-down.
The available subscription statuses for email contacts are:
Click Finalize import to review your import settings. If you need to go back to a step, click the corresponding header. If you want to cancel your import, click Exit.
That's it! After the import is finished, we'll send a notification to the email address associated with your Mailchimp account.
Note
You may need to update your email contacts’ data if they’ve been in your audience for a while. Use our import tool to quickly update multiple contacts at once.
This option replaces existing audience field information with new information from your import file. You’ll follow the same process to import new email contacts, but there are a few extra things to consider.
After your import file is prepared with updated contact information, follow the same steps to import email contacts from a file. On the Organize step, check the box next to Update any existing contacts.
That's it! When you import, we'll handle the rest by scanning your email contacts and updating their information.
Need some help with contact imports?
Troubleshooting Contact Imports
Want to reverse a contact import?
Undo a Contact Import
Don't need an audience anymore?
Delete an Audience
Now that you know how to import contacts, here are some other things you can do to manage and grow your audience.
Import SMS Marketing Contacts to Mailchimp
Learn how to import SMS marketing contacts to your Mailchimp audience.
Getting Started with Your Audience
Manage important information about your audience. Use Mailchimp’s powerful marketing tools to help understand how contacts interact with your online store and send targeted marketing content.
View Your Contact Import Results
See how many contacts were added or updated, and whether there were any addresses with syntax errors.
About Signup Form Options
Grow your audience by attracting new subscribed contacts. Use signup forms to extend your marketing reach and help expand your business.
Technical Support

Have a question?
Paid users can log in to access email and chat support.
Create your Mailchimp audience so you can import and collect new contacts for your emails.
Certain audience field types, like addresses and phone numbers, require a specific format. Learn about field types, and how to format them to work with Mailchimp.