Create a Mailchimp Audience
Create your Mailchimp audience so you can import and collect new contacts for your emails.

Get the job done with a pro
From training to full-service marketing, our community of partners can help you make things happen.
Groups are specialized audience fields that let contacts self-categorize based on interests or preferences using uniform responses you set. Groups can be used for any data you want to collect about a contact, like favorite foods, preferred store locations, or anything else you want to know.
In this article, you'll learn two ways to create groups in your audience.
Here are some things to know before you begin this process.
To create a group from the Groups page, follow these steps.


A success message will display with the option to Import To These Groups, or click Done For Now.

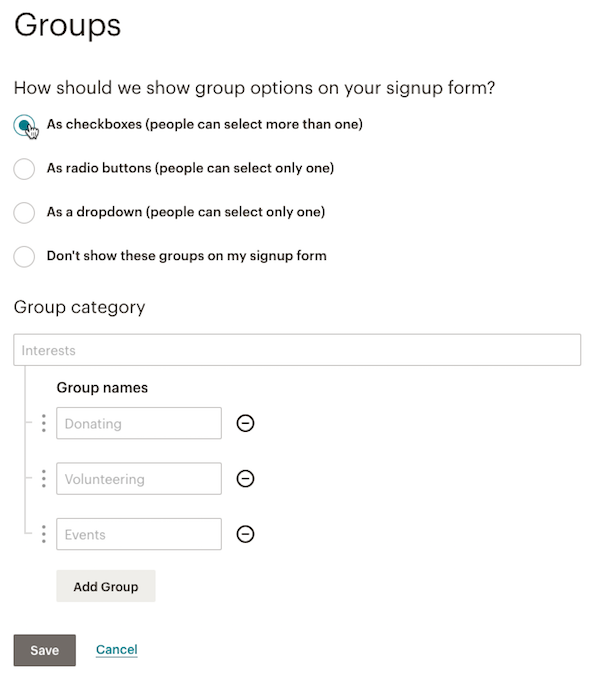
To create a group in your signup form, follow these steps.


Technical Support

Have a question?
Paid users can log in to access email and chat support.
Create your Mailchimp audience so you can import and collect new contacts for your emails.
Use Mailchimp's groups to organize subscribers based on their interests and preferences.